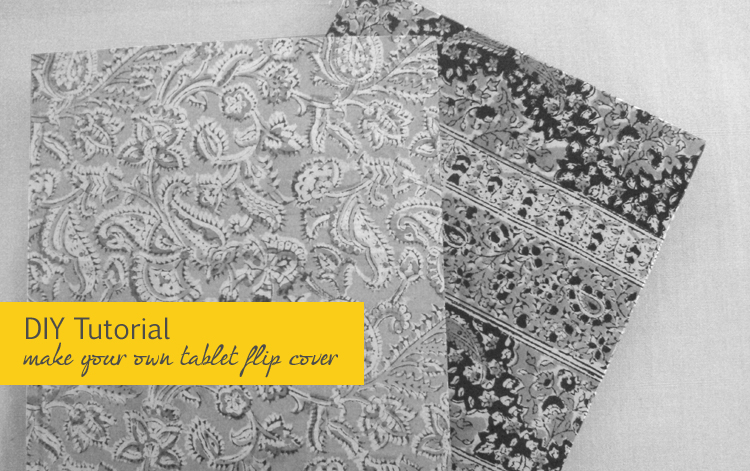
Old books have many uses. After giving your books away to those who love to read, there are always some that you don’t know what to do with. For such books and your spring-cleaning agony, here is a tutorial on upcycling a hard-bound book cover into a flip cover for your tablet. This flip cover also doubles up as a viewing stand for your smart gadget.
The intention of this tutorial is to make use of whatever is at home and within reach, instead of going out to buy new stuff. This defeats the purpose of recycling or upcycling. The idea of transforming a seldom-used thing into an item of utility makes the whole exercise meaningful. Not to mention the sweet sweat, joy and love that comes with anything that is handmade.
Lets get started…
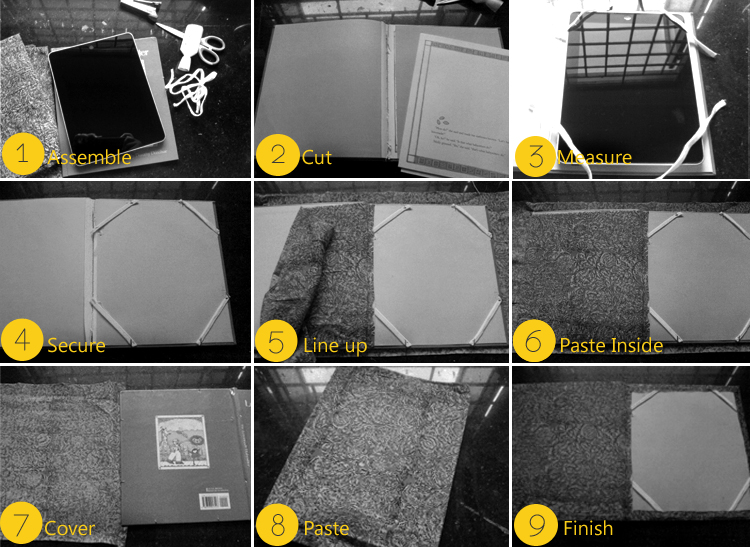
Step 1: Assemble
Get all the things you need so that you don’t waste time looking for material and tools.
- An old book that is just about the size of your tablet or smart gadget. The book needs to have a hard cover to work with.
- Cloth or covering paper in the color and design of your choice. Here I have used a natural cloth with traditional Indian art form called Kalamkaari as I love the feel of the fabrics and support this dying art form that uses natural dyes for colors.
- Scissors
- Fabric Glue or Regular PVC Glue
- Elastic Bands – Firm enough to support the weight of your gadget
- Staples/ Pins/ Needle-Thread/ Whatever works in securing
Step 2: Cut
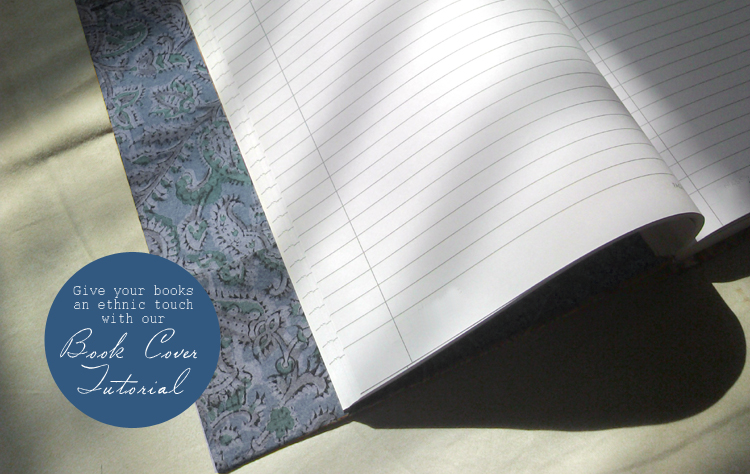
The pages of the book need to be removed so that you are left with the hard bound cover. Take care that the cover’s spine is not damaged in the process. Using this hard cover as your measure, cut out the cloth required. The cloth should be able to cover the inner and outer side of the cover.
Step 3: Assemble
Place the iPad or tablet in your book cover and see how much elastic band you need in order to fix the tablet down. Leave some extra elastic for stitching or stapling.
Step 4: Secure
Attached the elastic bands to the book cover using any material that works for you. You could stitch with needle and thread, staple, nail, or simply tie them behind. Chose what works for you. Ensure that these bands are firmly secured as they take the weight of your gadget when you use this flip cover. Cut out the remaining loose bands.
Step 5: Line Up
Once the elastic bands are secured, use fabric glue to paste the fabric on the hard board, concealing the elastic bands as well as securing them. By lining up carefully, you are also sealing the elastic bands stronger. Make sure you line up the fabric neatly in a straight line.
Step 6: Paste Inside
Start sealing your fabric with glue from inside out. By doing this, you are ensuring that the insides of this flip cover look as good as the outer. You can choose to cover the inside completely for an even look.
Step 7: Cover
Having sealed the fabric inside, turn the hard book cover around and start sealing the edges. Use glue liberally to seal the sides as this is key to making the tablet cover look and feel sturdy. Air pockets in between don’t feel nice.
Step 8: Paste Outside
Take care to paste the outer side well as this gives the final look and finish to the product. Leave no room for creases, gaps, air pockets, etc. Ensure that the whole cover feels solid, well pasted and sealed.
Step 9:
Turn the extra fabric within and seal it on the inside ensuring that the final finish is neat and clean. Ensure that the cloth is well stuck as most the wear and tear happens in this zone and the fabric will peel off from here. Seal well.
Leave it to dry.
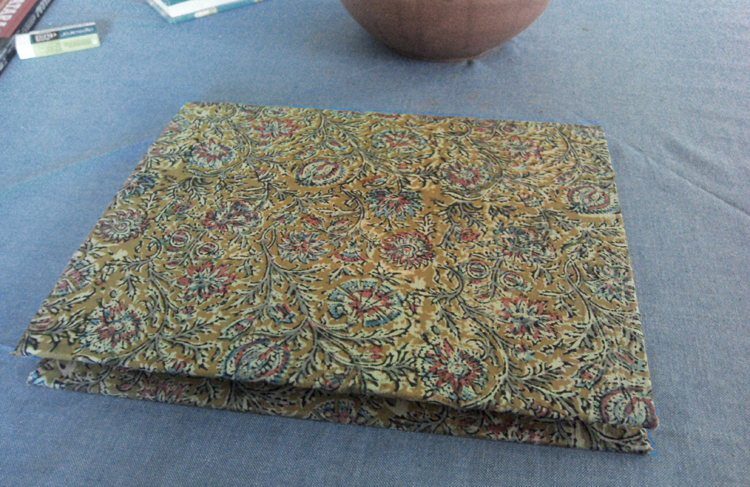
The cover looks and feels gorgeous because it binds the things we value and believe in. From using traditional and dying art form of Kalamkaari, reusing an old book to making it with your own hands… it is endearing.
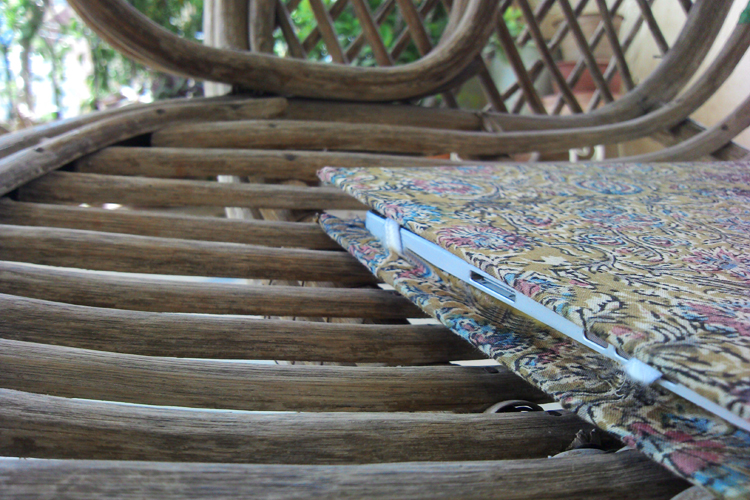
The sturdiness of this iPad flip cover makes you want to use the gadget a bit more freely. As opposed to being worried about scratches, you can leave it on any surface. Additionally, Handloom fabrics are non-slippery and rustic with their share of imperfections which are not only lovely to touch and feel but also give a good grip.
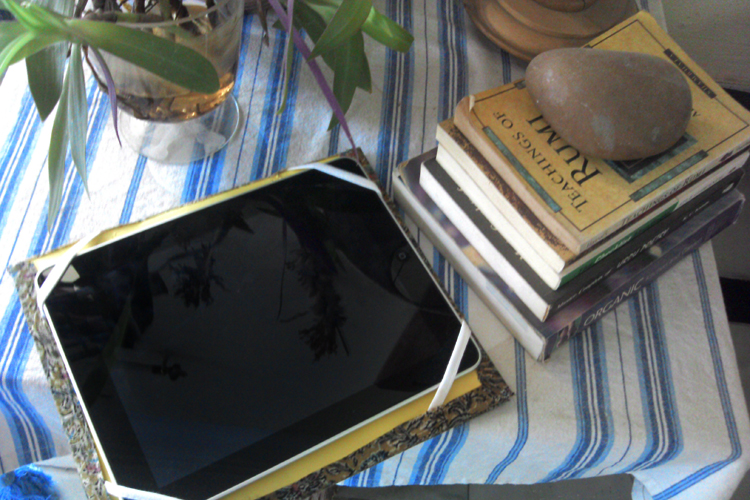
This flip cover is versatile enough fold back fully. The key to this is using an old book that is about the height of the gadget itself. Like a book would fold over, this flip cover too will.
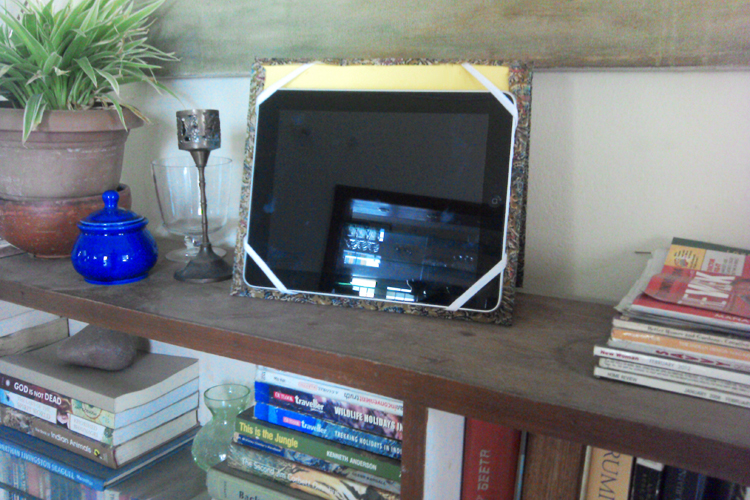
The care with which you make your handmade tablet cover goes a long way in keeping it solid and sturdy. Here it supports the weight of the gadget and doubles up as a viewing stand for your slide shows or digital photos.
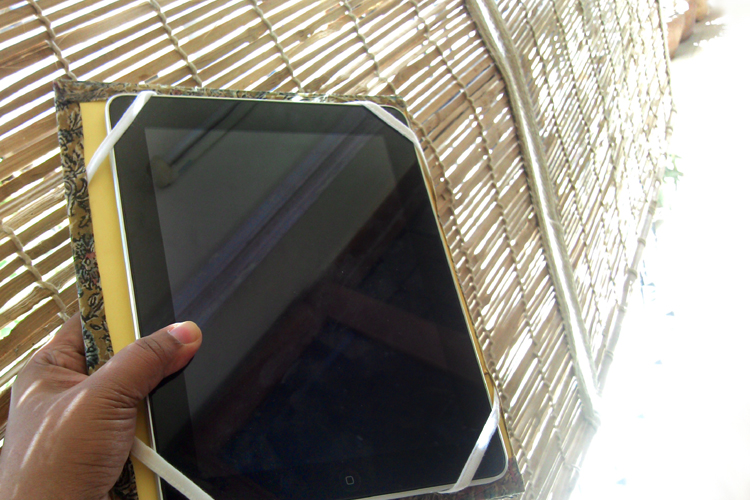
It can be carried anywhere and you dont have to worry about it slipping down.
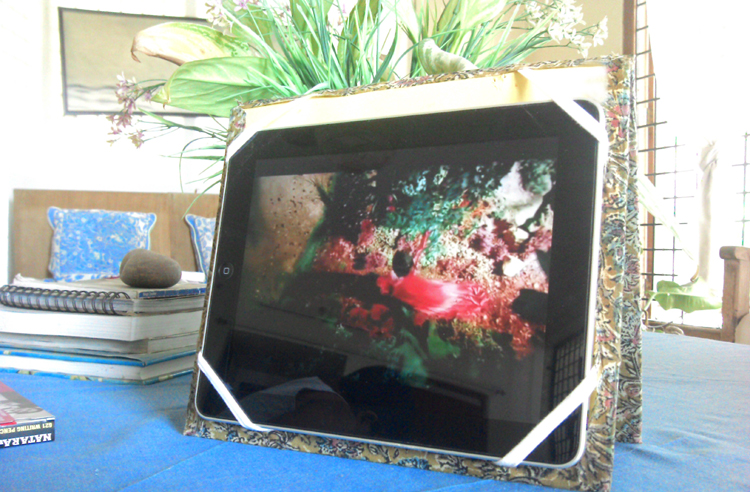
Place it anywhere to watch your favorite shows.
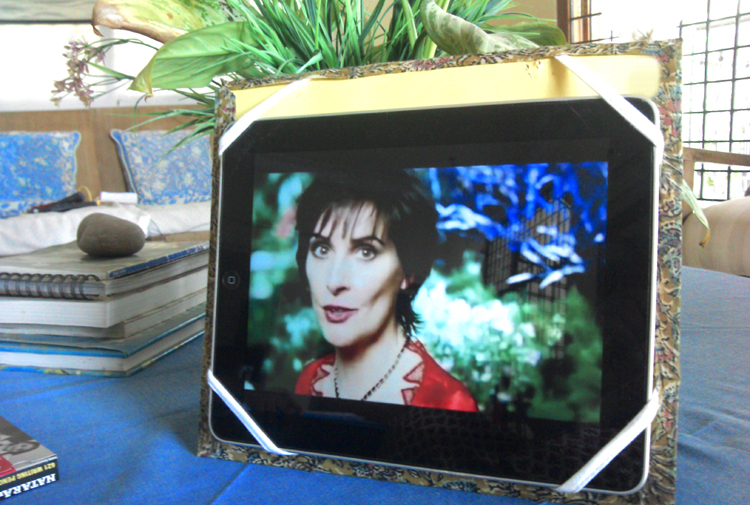 As Enya sings her classic – Amarantine, we got down to convert unused items into something meaningful. From an old ragged book to a functional flip cover that actually works.
This post was also an experiment to see how one can blog DIYs instructables using a smart phone, instead of a fancy camera. And it seems to work fine. It only goes to show how advanced the gadgets are getting by making our lives easy. But it is equally important to look back to preserve our ancient art forms and way of life which not only made life easy but also enriched it. We only need to marry technology with ancient sciences, wherever possible.
I would love to hear from you, your story of making something useful out of the useless.
Please share, while you continue t0 upcycle.








Finally i know how for make cover tablet from old book 😁 thank u !!
Yet another highly unique and beautiful idea. You never cease to surprise me!! Loved it.
I love it!
Peace
ANSUL
http://www.ruhaatish.com